Version: 8.3.0
MESH module allows you to work with Quadratic Elements.
Quadratic elements are defined by the same corner nodes as the corresponding linear ones, but in addition they have midside nodes located between the corner nodes on element sides.
If a quadratic 2D element has an additional node at the element center, it is a bi-quadratic element (both TRIA7 and QUAD9 elements are supported). If a quadratic hexahedral element has 7 additional nodes: at the element center and at the center of each side, it is a tri-quadratic element (or HEXA27).
The convention of nodal connectivity of elements used in SALOME is the MED library convention. You can consult the description of nodal connectivity of elements in the documentation on MED library or here.
There are several ways to create quadratic elements in your mesh:
To add a quadratic element to your mesh:
Select your mesh in the Object Browser or in the 3D viewer.
From the Modification menu choose the Add item and select one of the following:

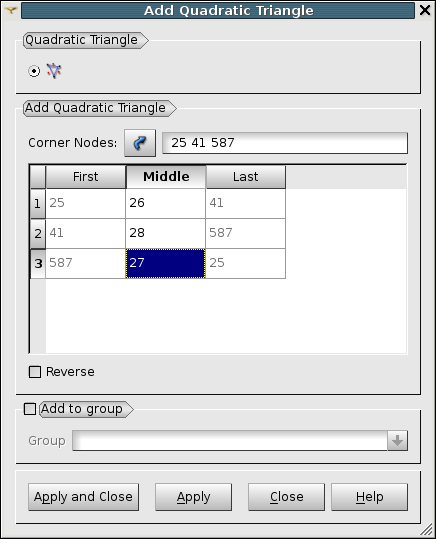
To create any Quadratic Element specify the nodes which will form your element by selecting them in the 3D viewer with pressed Shift button and click Selection button to the right of Corner Nodes label. Their numbers will appear in the dialog box as Corner Nodes (alternatively you can just input numbers in this field without selection; note that to use this way the mesh should be selected before invoking this operation). The edges formed by the corner nodes will appear in the table. To define the middle nodes for each edge, double-click on the respective field and input the number of the node (or pick the node in the viewer). For bi-quadratic and tri-quadratic elements, your also need to specify central nodes. As soon as all needed nodes are specified, a preview of a new quadratic element will be displayed in the 3D viewer. Then you will be able to click Apply or Apply and Close button to add the element to the mesh.

Reverse button reverses the element.